Precise arm measurement made easy

Measure your arm easily and accurately with our innovative photo-based measurement guide
Measurement Instructions

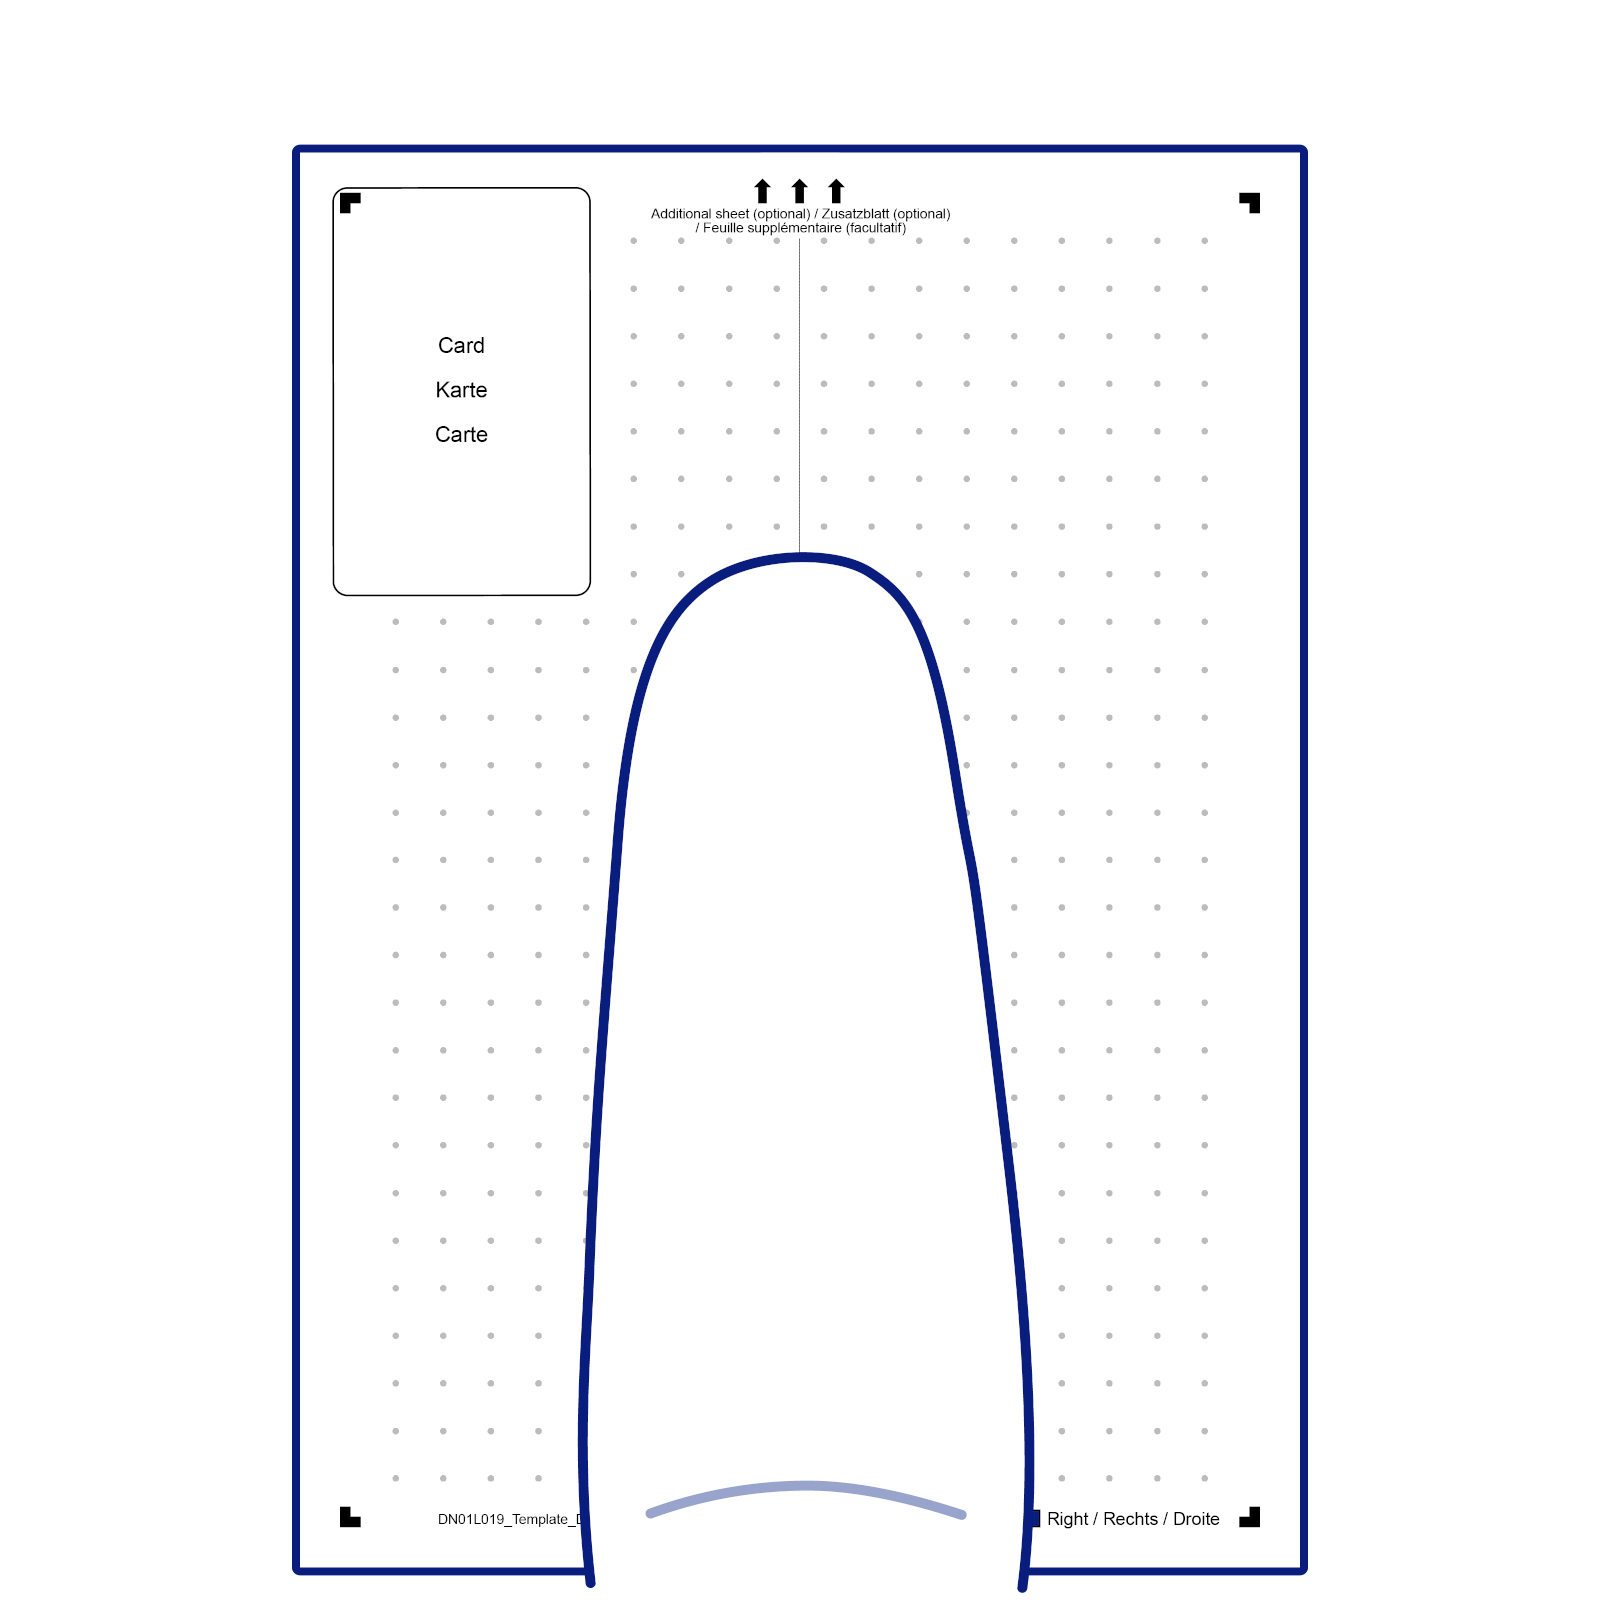
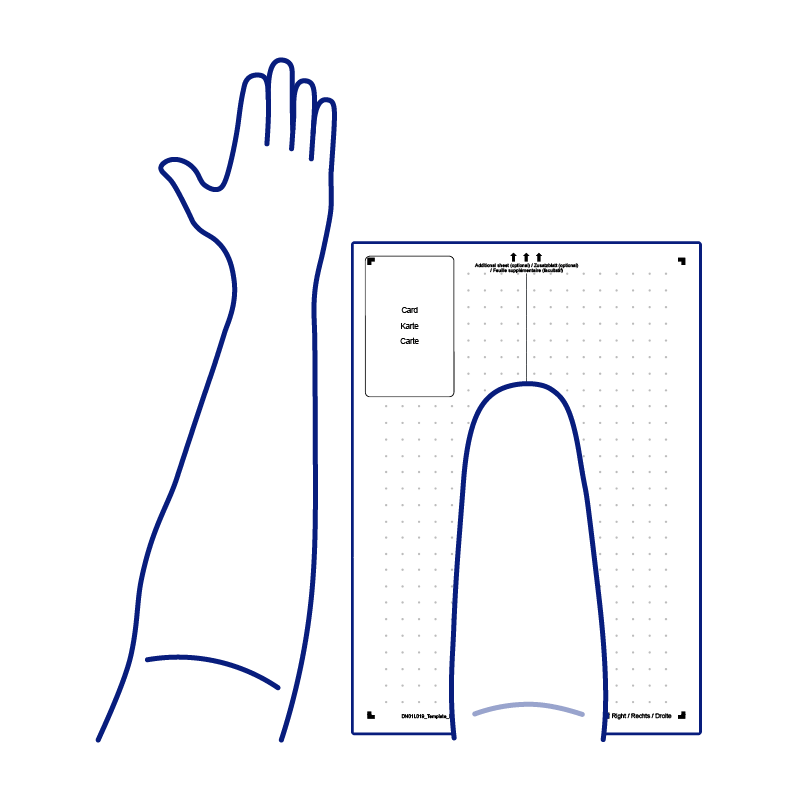
You want to measure your arm? No problem!

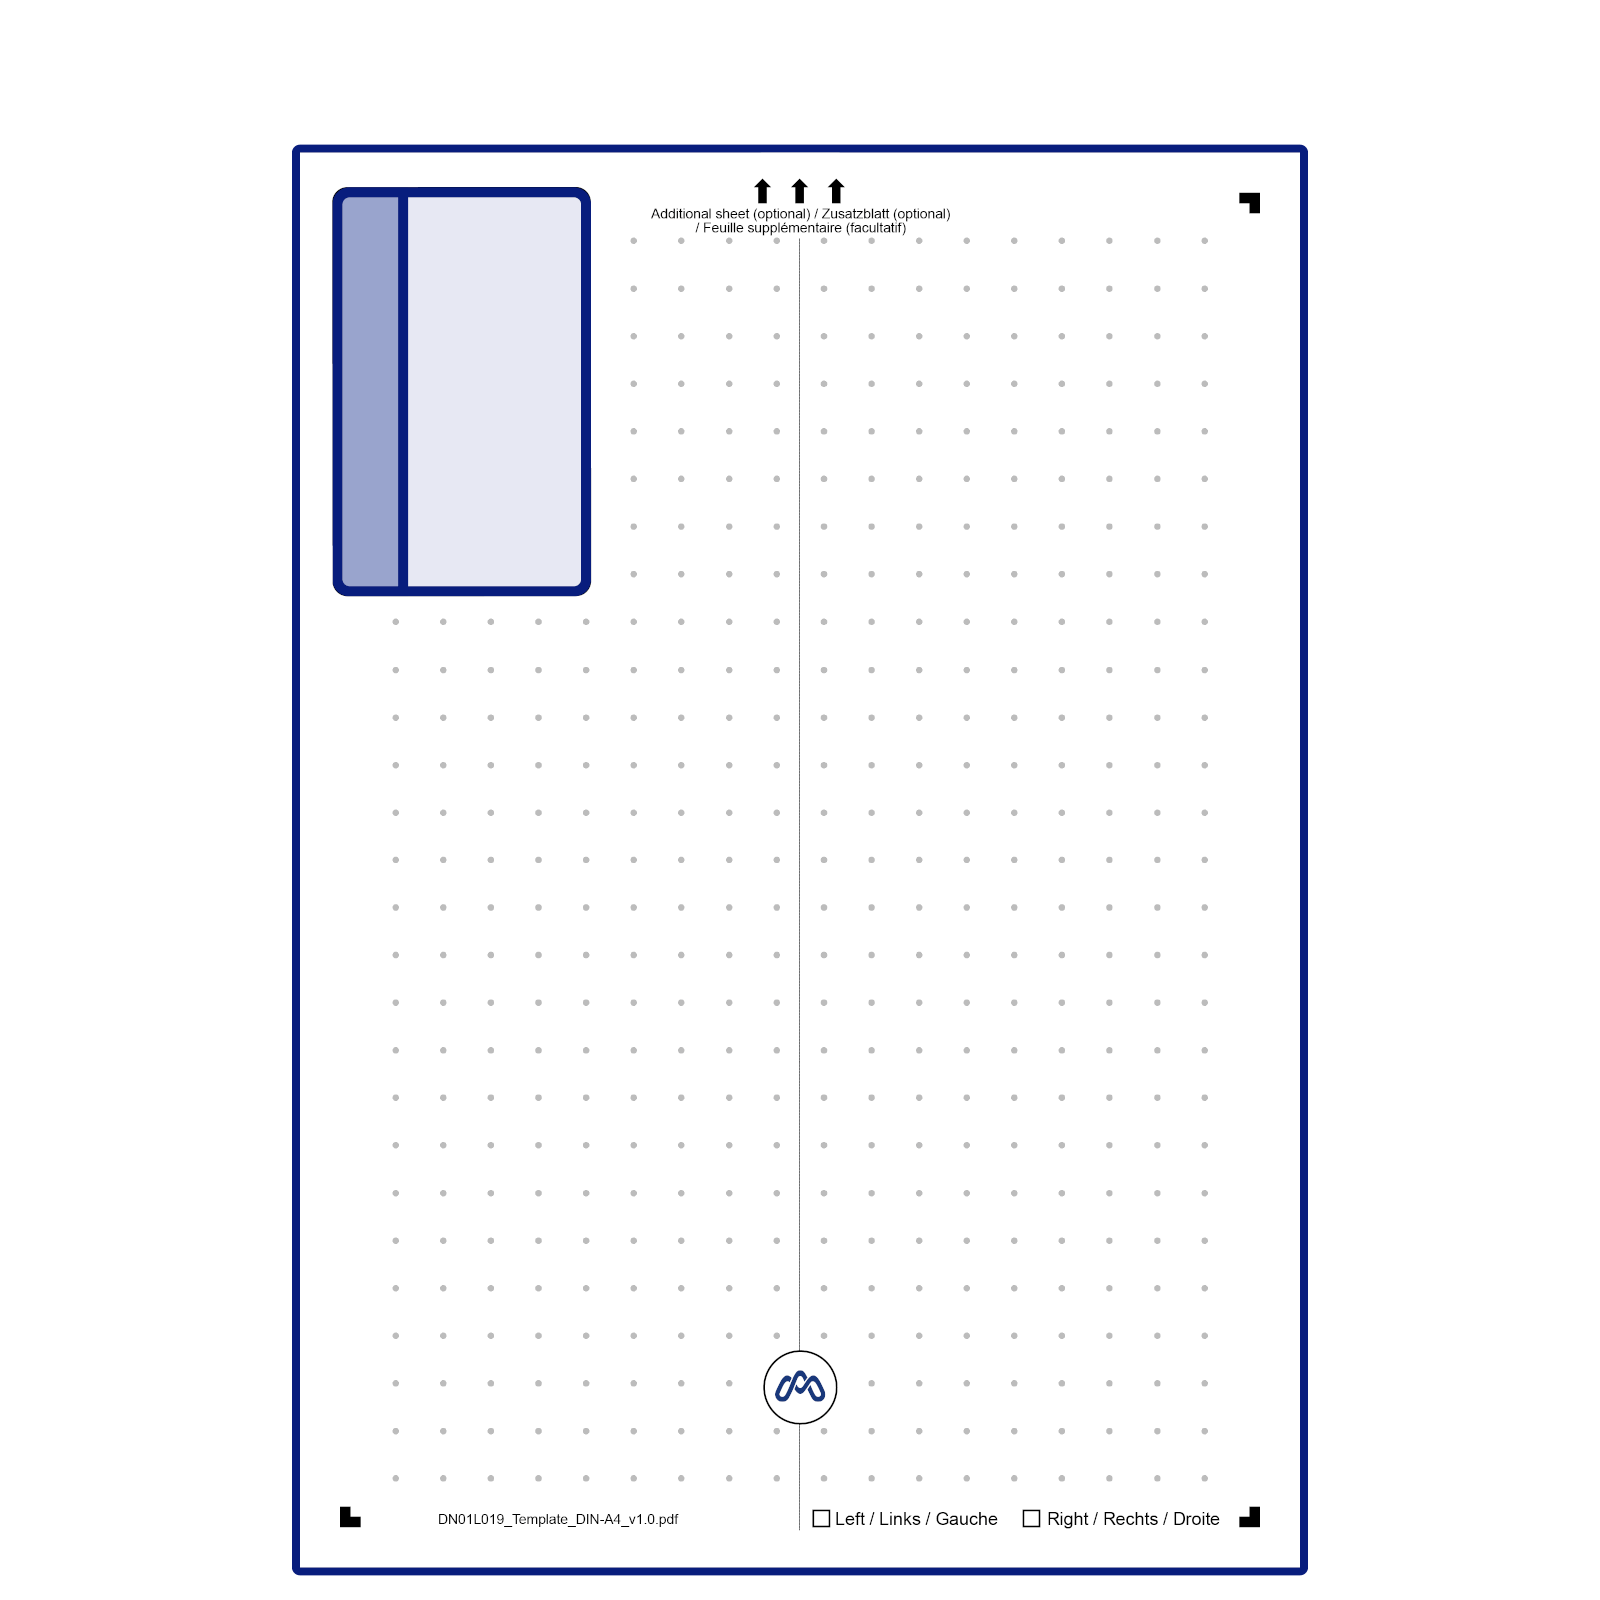
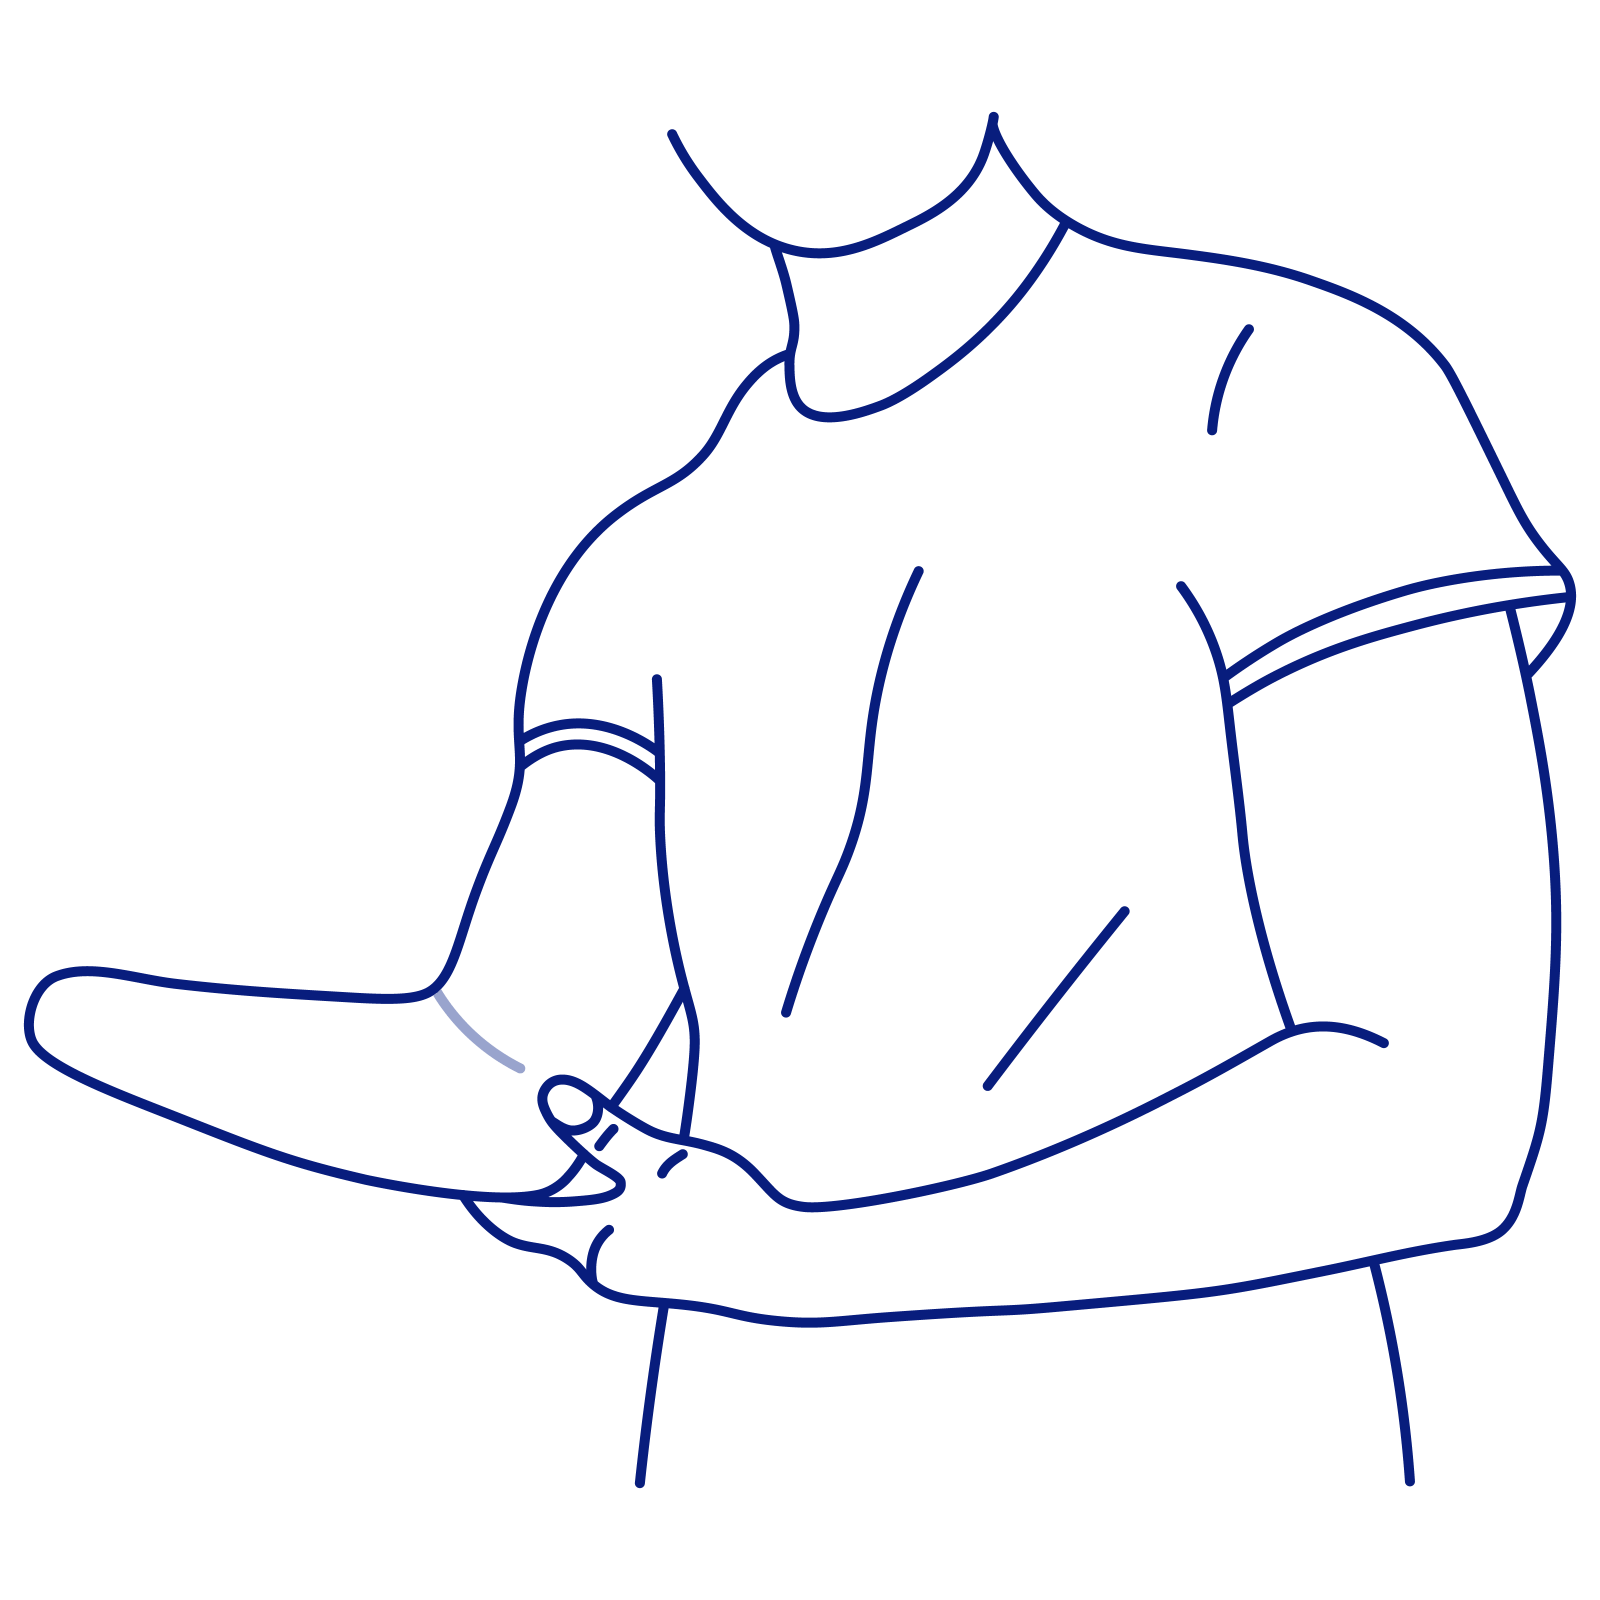
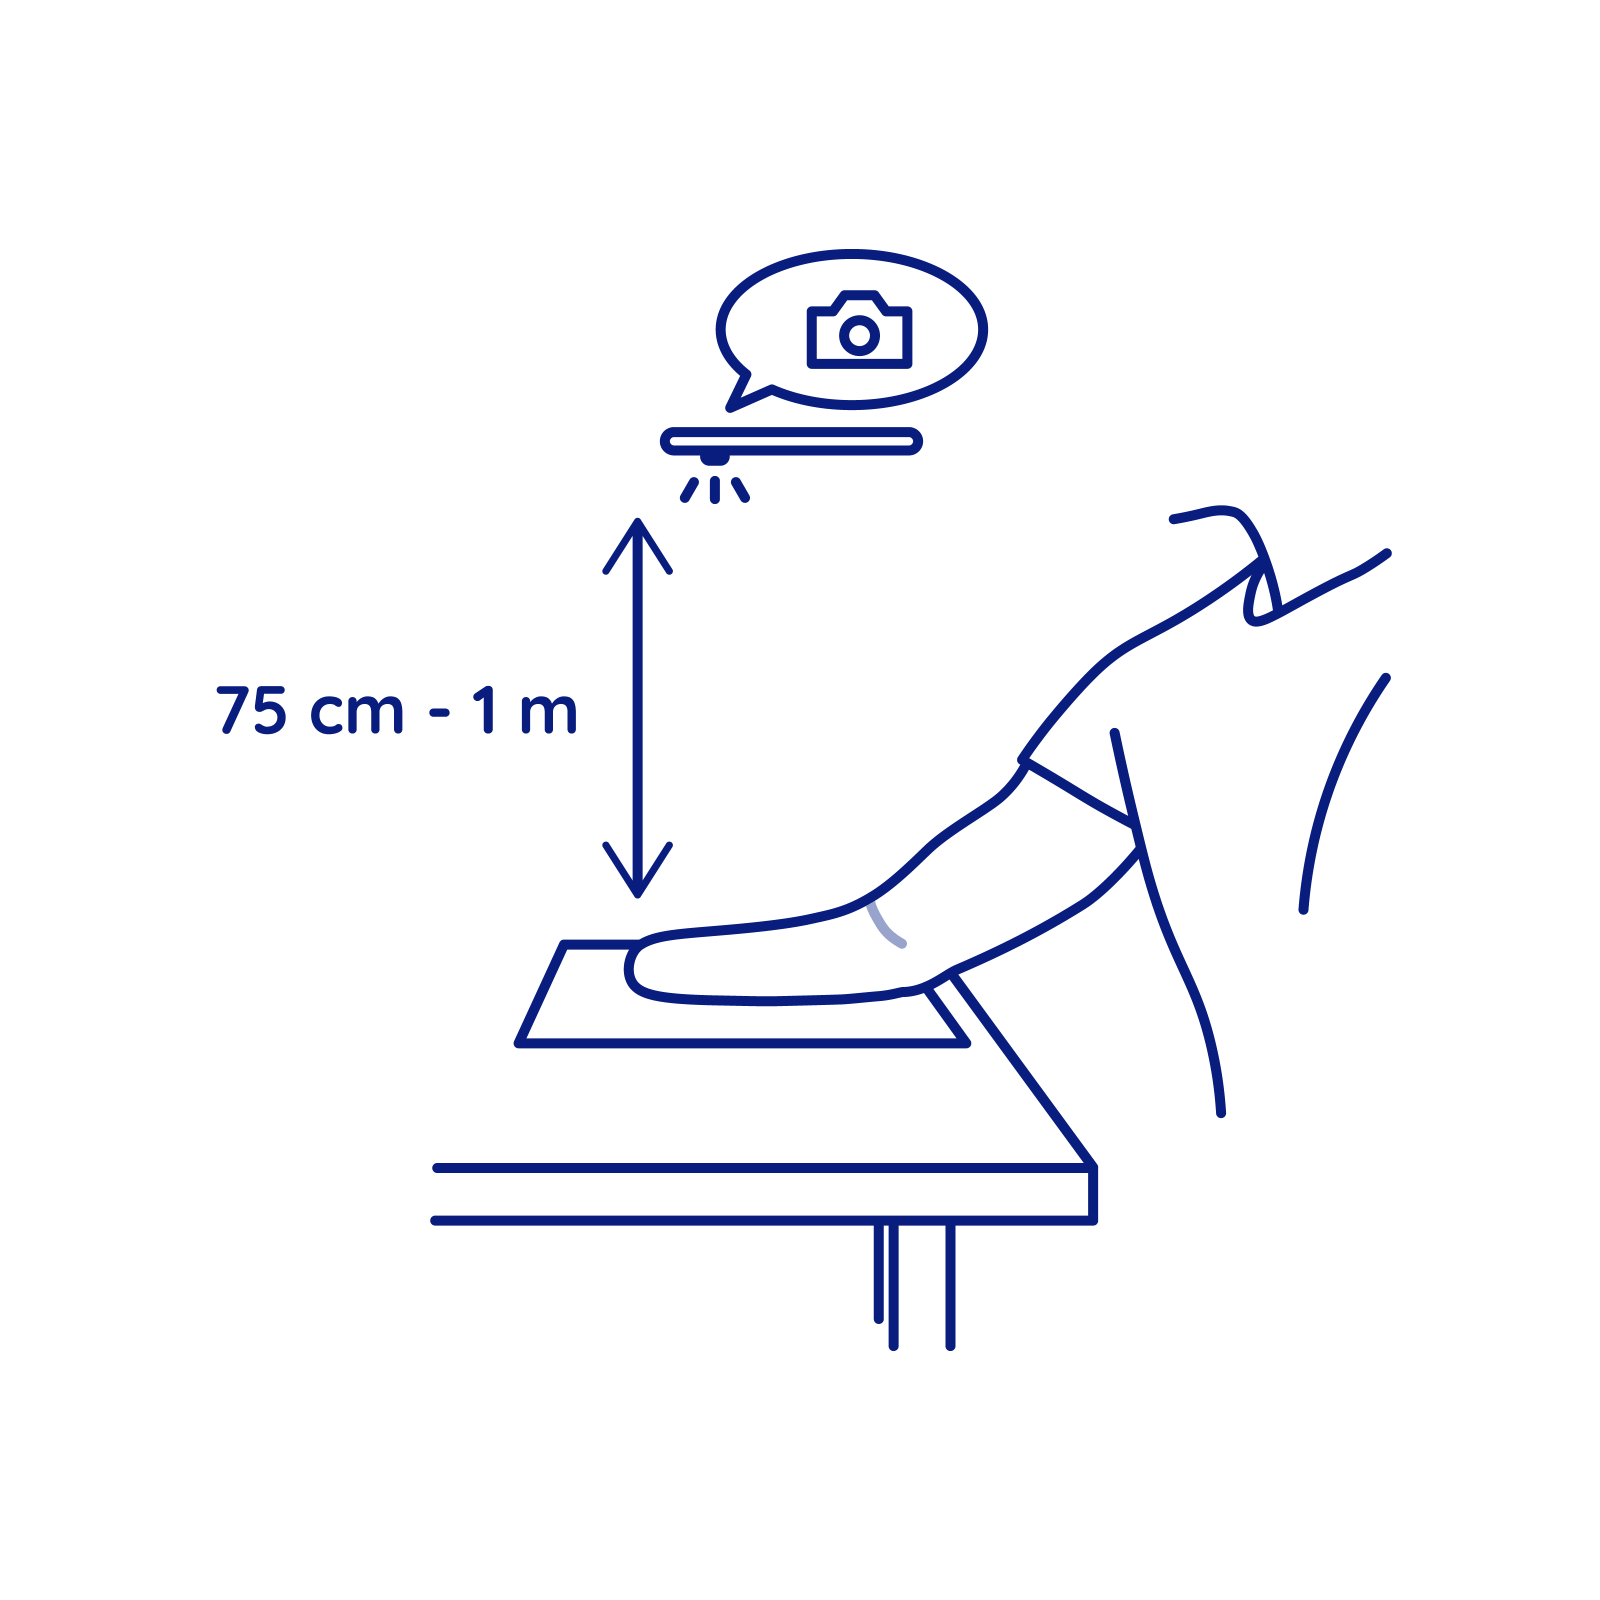
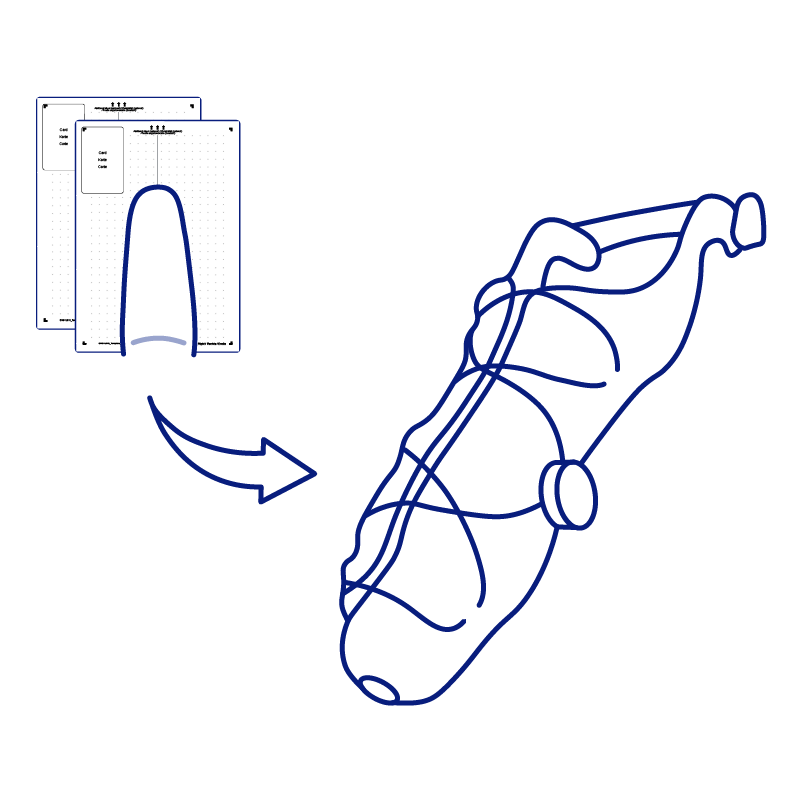
In preparation for your arm measurement, you should have the following available: Smartphone or camera to take pictures, assistant to take the pictures, printer and white A4 paper, credit card sized card to validate the print, skin friendly pen (dark ink) to mark 2 points and a line on your arm.

Preparations - This is what you should do beforehand:

Download the template from macu4 in PDF format. Print the template in its original size or at 100% scale, either in black and white or in colour. Place the card in the space provided on the template to make sure it has printed correctly. Centre the camera over the template and take the first photo where the template and map are visible.

Reference points for accuracy - Here's how:

Find the medial epicondyle: Feel the small bony prominence next to the elbow on the inside of your arm. Mark the medial epicondyle as point 1 on your arm. Mark point 2 and draw a guide line: Find the spot in the crease of your arm where blood samples are usually taken. Mark it as point 2 and draw a straight line through this point, about 5 cm long.

Precise images for valid measurements:

Raise the arm slightly to avoid distortion. For longer arms: Complete the template with an additional A4 paper. Place the template on a well-lit table without shadows. Aim the camera at the centre of the template. Keep a distance of 75 cm to one metre and photograph vertically. Capture the entire template and optionally part of the table.

Accurate measurements - Here's how:

Besides the photo to qualify the artwork, you need a total of two photos of your arm. Once you have everything prepared, the photos should be done quickly. The two photos of your arm enable us to extract the values.

Photos in the right quality - Here' how:

Position the arm over the template, align it and hold it outstretched. Take photo 2 with visible points and guide line. Turn arm 90 degrees, point 1 on circle, stretched out again. Take photo 3 with visible points and guide line. This is how you can take accurate arm measurements!

Length of the other arm - Here's how:

Option 1 | Photo-based measurement:
Place both arms side by side on the template and take a photo.
Option 2 | Manual measurement:
Sit on a chair (or table) and extend your arm at a right angle. Measure the arm length (L5) from the medial epicondyle to the surface.

Your documents

Use the following documents for surveying and provide detailed information about everything related to the Explorer system.
Instructions | Photo-based measurement
Download
Print Template | Photo-based measurement
Download
Instructions for Use | Modules
Download
Instructions for Use | Socket
Download

Any questions?

We are looking forward to your message. Use the contact form on our website or take a look at the FAQ - there are already many questions and answers there.
go to FAQ
linkedin facebook pinterest youtube rss twitter instagram facebook-blank rss-blank linkedin-blank pinterest youtube twitter instagram